There are a couple of other little shortcuts and options that I found while playing around with Task Manager in Windows 10. In this post, I’m going to go through just a few of the simple tricks/tips I learned and hopefully you’ll enjoy using the new Task Manager if you have a Windows 10 PC. Read my other posts on the Windows 10 Task Manager if you want to go into a lot more detail.
Opening Task Manager in Windows 10
There are a couple of ways to get into the Task Manager in Windows 10 that are worth mentioning here.
You can press CTRL + SHIFT + ESC if you love keyboard shortcuts.
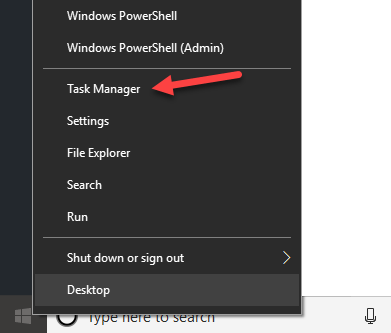
You can right-click on the Start button or Taskbar and click on Task Manager.
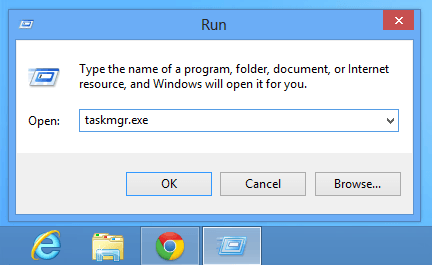
Press the Windows key + R and then type in taskmgr.exe.
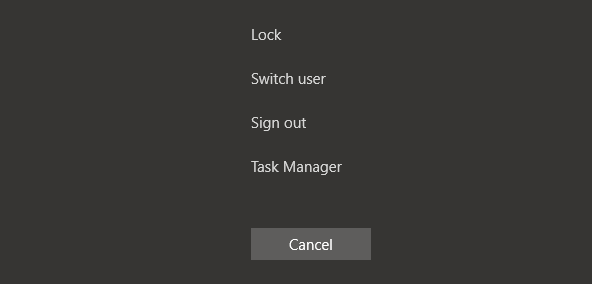
Press CTRL + ALT + DELETE and then choose Task Manager.
That’s a lot of ways to access the Task Manager! Depending on how you use your computer, I’m sure one of those four will work for you.
Add Extra Columns
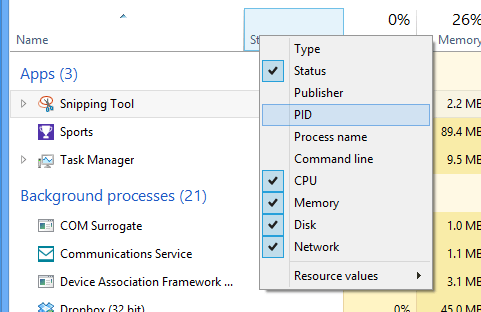
Every once in a while, I need to see extra information about a Windows process, such as the PID (process identifier). In Windows 10, you can just right-click on any header and add more columns by checking them.
See Logical Processors
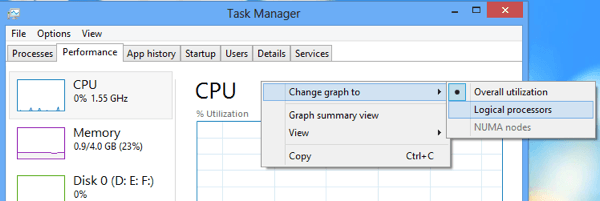
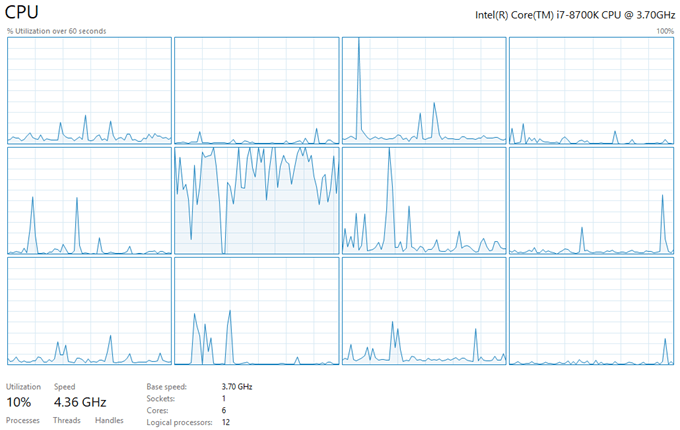
Nowadays a lot of consumer computers have multiple CPU cores/threads. If you have certain applications that can utilize multiple cores and you want to check to make sure that the process load is actually being distributed, you can go to the Performance tab, click on CPU and then right-click and choose Change graph to and then choose Logical processors.
By default, the Task Manager will only show the overall CPU utilization. Now you can see the utilization for each logical processor on the system! Sweet.
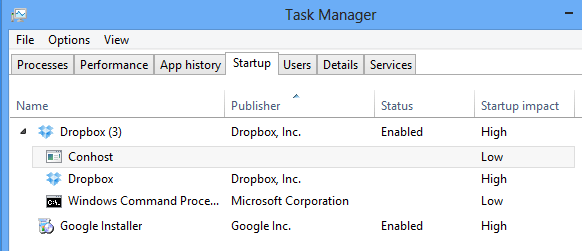
Startup Impact
Task Manager in Windows 10 has a cool feature that lets you see the “impact” that a startup process has on the system. This is very helpful to quickly figure out which startup programs are slowing down the boot up process.
Update Speed
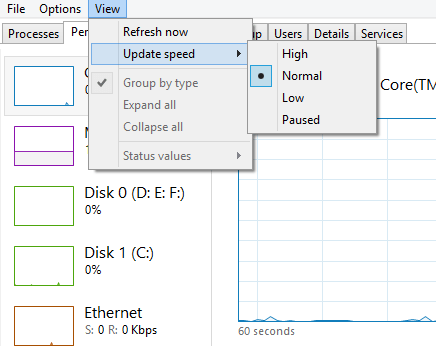
By default, the data you see in the performance tab only shows you the past 60 seconds. If you want to change that, you can click on View, Update Speed and choose from High, Normal or Low.
High will monitor over a 30-second time span and Low will monitor over a 4 minute time span. Low will also put less load on the machine when monitoring. The 4 minute time span is useful if you need to see the performance for any time frame longer than 60 seconds.
Network Stats
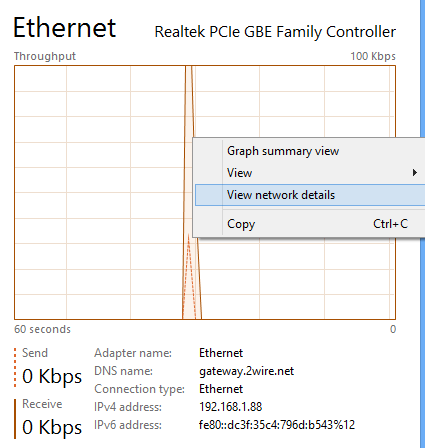
If you go to Ethernet under Performance, you can right-click on the graph and choose View network details.
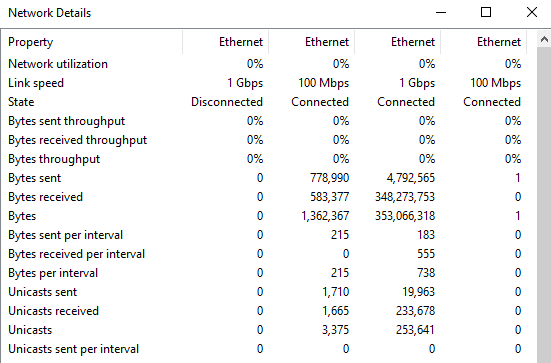
Here you can see detailed information about your network connection including link speed, network utilization, bytes sent, bytes received and lots more.
System UpTime
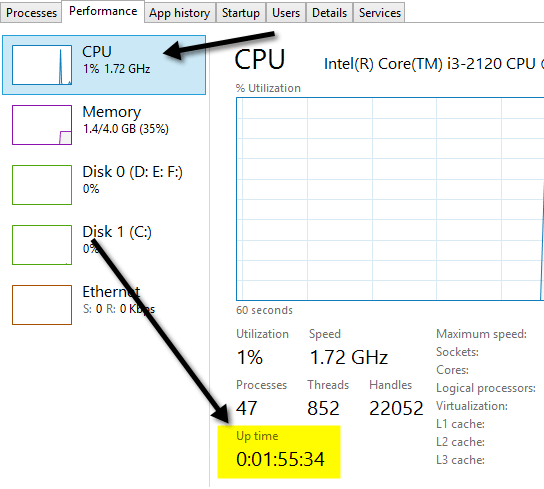
Thankfully, you don’t have to download a program to see the system uptime anymore in Windows. Just go to the Performance tab, click on CPU and you’ll see Up time down at the bottom:
Summary View
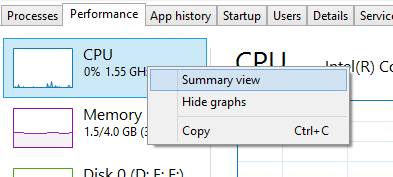
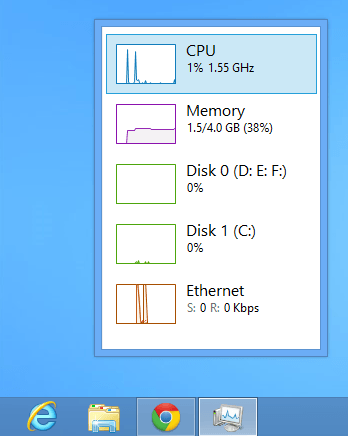
Another nice feature in the Task Manager is the summary view. Just right-click on any performance metric on the Performance tab and choose Summary view.
Now you get a nice little compact dialog box that you can move anywhere on your desktop or to another screen if you have dual monitors and monitor the performance while you run other apps and programs.
That’s about it! Windows 10 is definitely a nice upgrade from previous versions of Task Manager and hopefully this will give you a little more insight into how you can use it more efficiently. Enjoy!