By adding an appendix, you can offer that extra information for those who want to dig into it without distracting from your presentation’s main objective. Let’s walk through how to use and add an appendix in PowerPoint.
What Is a Presentation Appendix?
Similar to an appendix you’d see in a book, essay, or report, a presentation appendix contains supplemental information. You may not want to include raw data, illustrations, graphs, or lists of tools, books, transcripts, or websites within the presentation itself. Instead, you can place extra details like these in the appendix for your audience to view if they like. Here are the basics for using an appendix in PowerPoint:
You should place the appendix on a slide at the end of your presentation, after the References slide if you use one. If you use more than one appendix, place each on its own slide. Additionally, you should label each appendix with a letter or number such as Appendix A, Appendix B, or Appendix 1, Appendix 2, and so on. You should organize the details in the appendix in the order they appear in the presentation. For instance, supplemental details for content on the first slide should appear first in the appendix. You can refer to the appendix, and even link to its slide, within the content of your presentation. This lets your audience know they can obtain more information. If you don’t want to display the appendix during the presentation, you can simply hide the slide. With this option, you might consider sharing a PDF of the slideshow with your audience that includes the appendix.
How to Create an Appendix in PowerPoint
With all of the above in mind, let’s take a look at how to create an appendix in PowerPoint.
Add the Appendix Slide
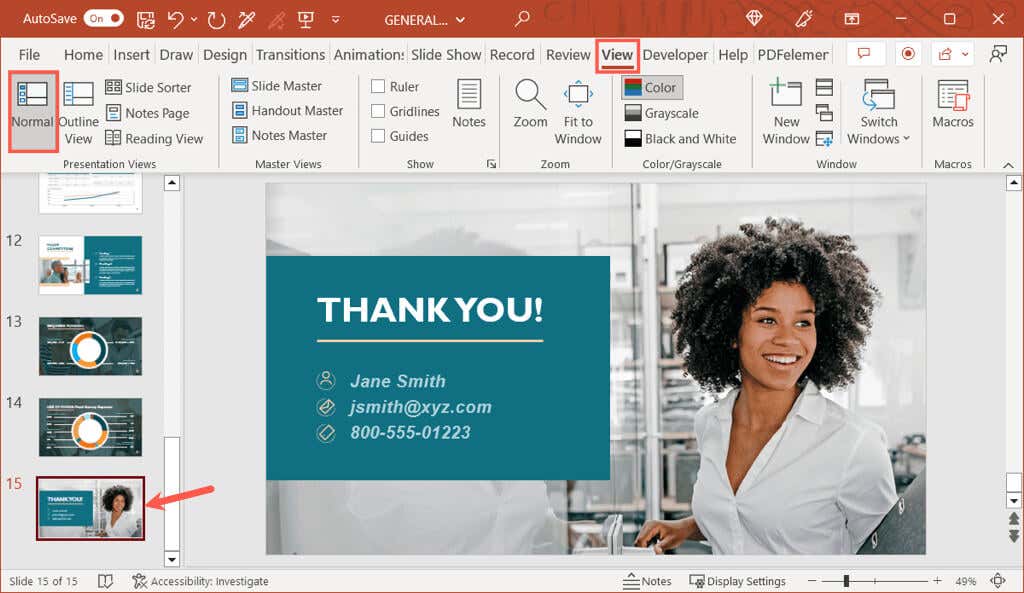
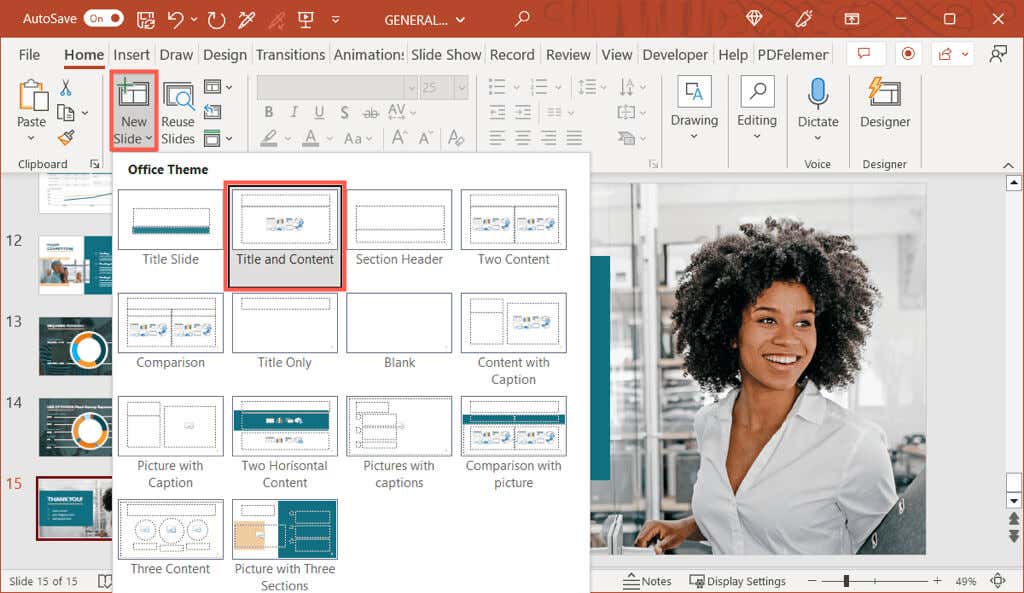
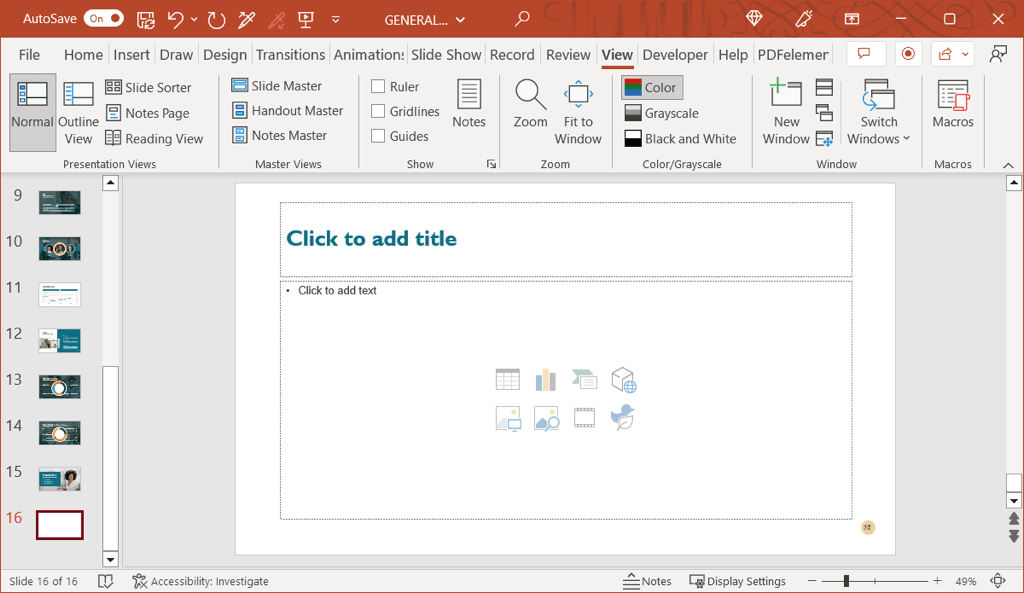
As mentioned, the appendix should be on its own slide at the end of the slideshow. While you can always rearrange your slides later, you can simply place the slide where it needs to be from the start. Open your PowerPoint slideshow and go to the last slide. You can do this easily using the Normal view with the thumbnails on the left side. Go to View and choose Normal. Go to the Home or Insert tab and select the arrow attached to the New Slide button in the Slides section of the ribbon. Choose the Title and Content layout in the drop-down menu. You can change the layout later if needed, but this gets you off to a good start with the appendix slide.
Enter the Slide and Appendix Titles
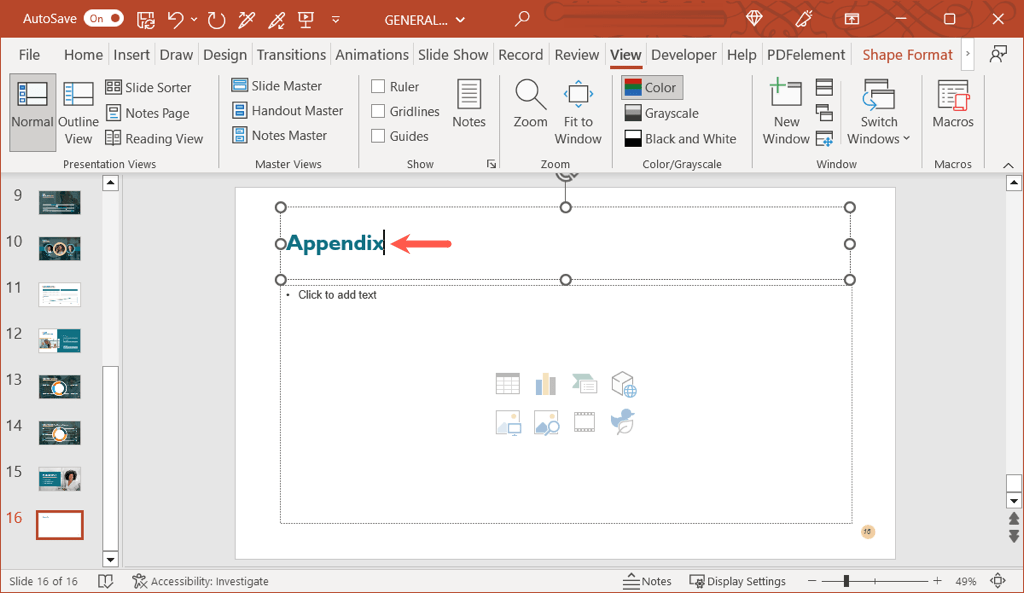
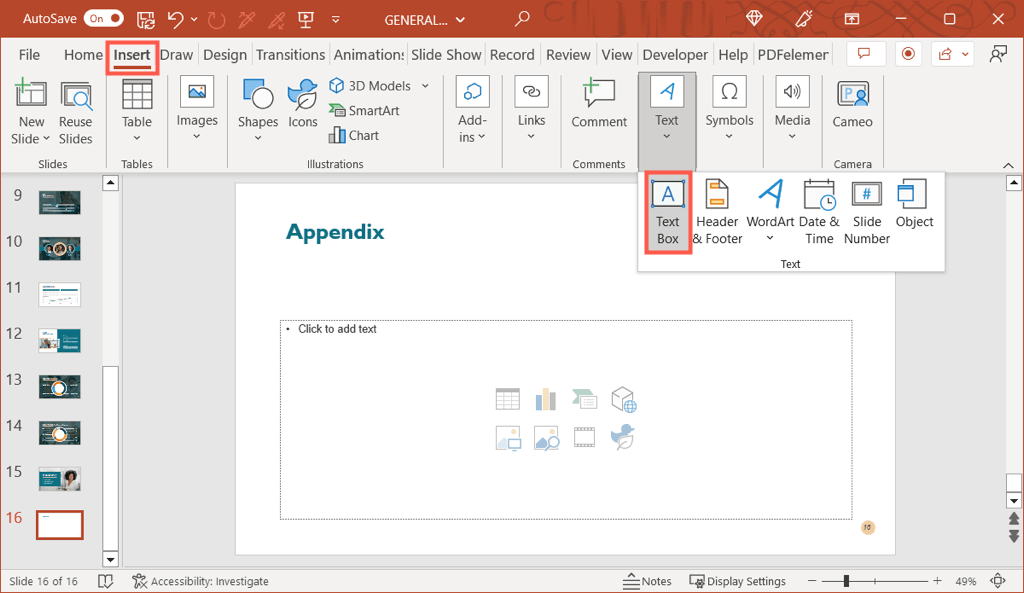
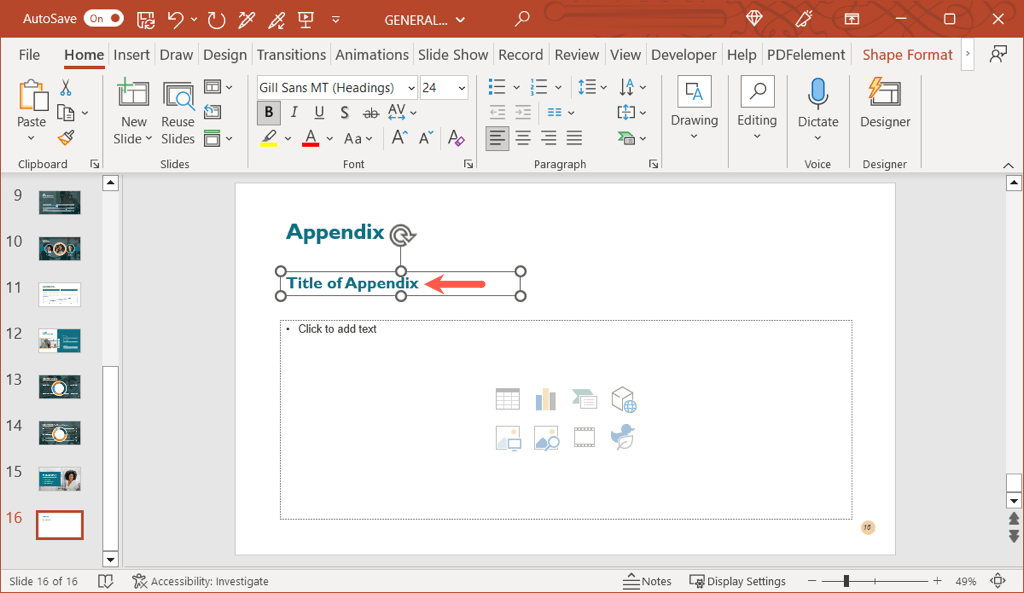
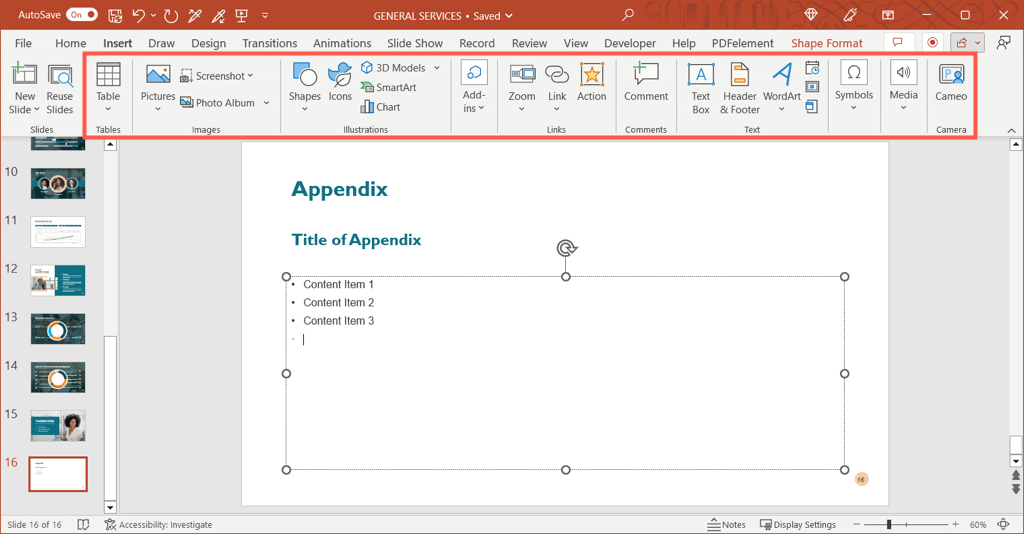
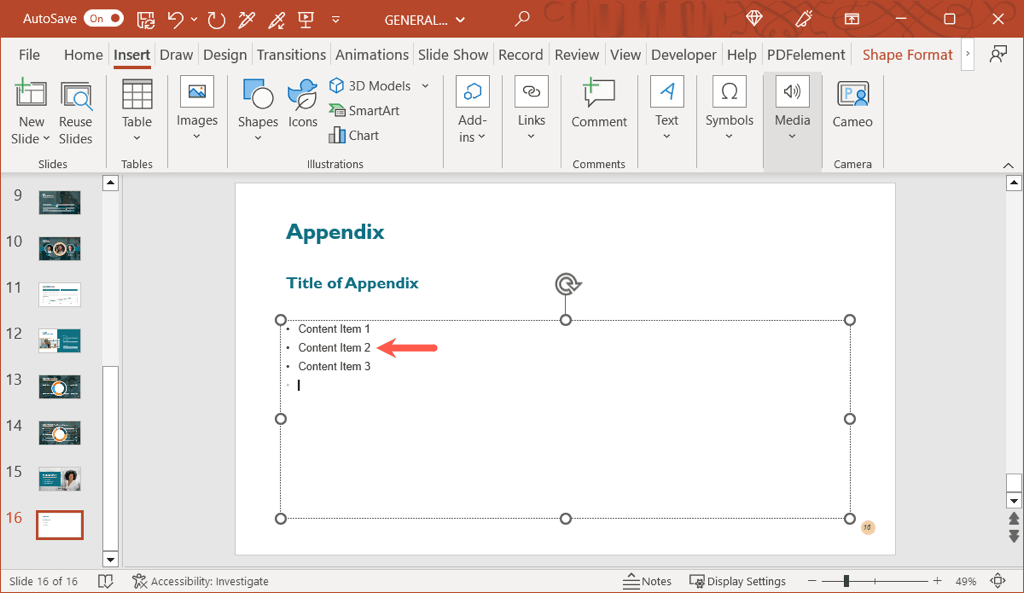
Once you have your new slide, select the Title text box and enter “Appendix” (or “Appendix A” or “Appendix 1” if you plan to use more than one). This not only titles the slide appropriately but labels the slide with “Appendix” as well. This is important should you decide to link text in your content to the appendix (explained below). Next, you’ll add the title of the actual appendix. This can be the topic of what the contents include or something similar that’s descriptive enough to understand at a glance. You can add a separate text box for this title rather than taking up space in the content box. Head to the Insert tab and select Text Box or Text > Text Box if your ribbon is condensed as shown below. Draw the text box and then enter the title text.
Insert the Appendix Content
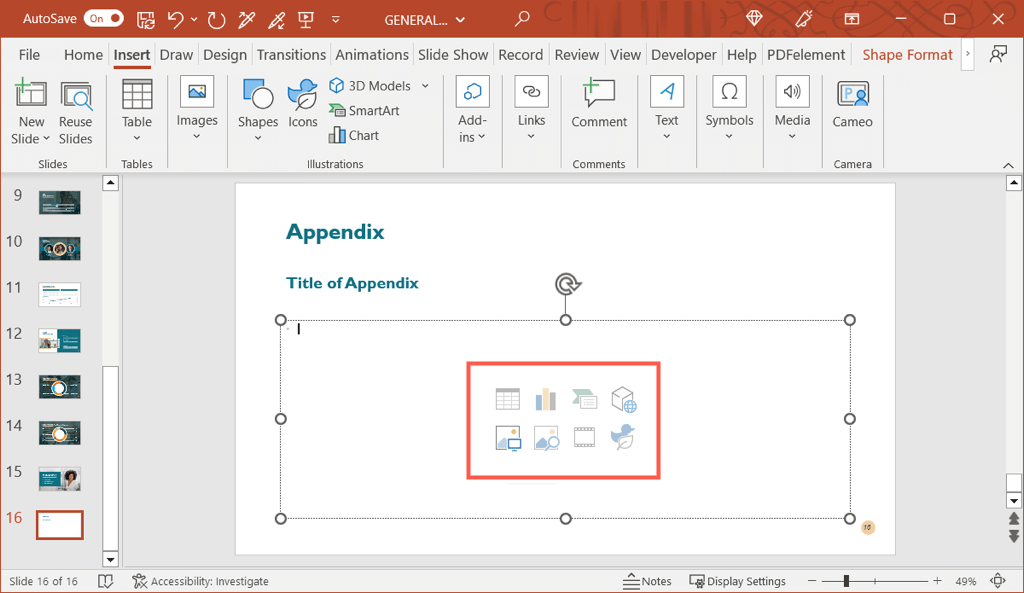
Below the slide and appendix titles, you can insert the content. Add pictures, text, bullet points, charts, tables, or whatever you need to include. The content box on the Title and Content layout provides you with icons you can select to add various types of media. For instance, you can choose the Insert Table or Insert Chart icon. If you don’t see an icon for the type of content you want to include, head to the Insert tab for additional options. Alternatively, you can simply type text into the box and format as a list or include hyperlinks if needed.
Formatting for the Appendix
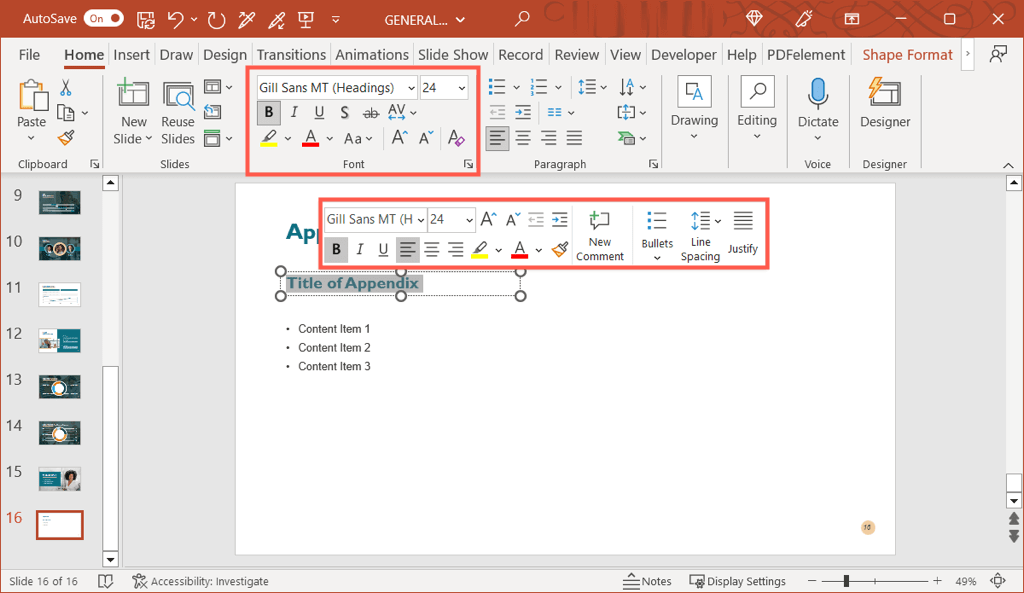
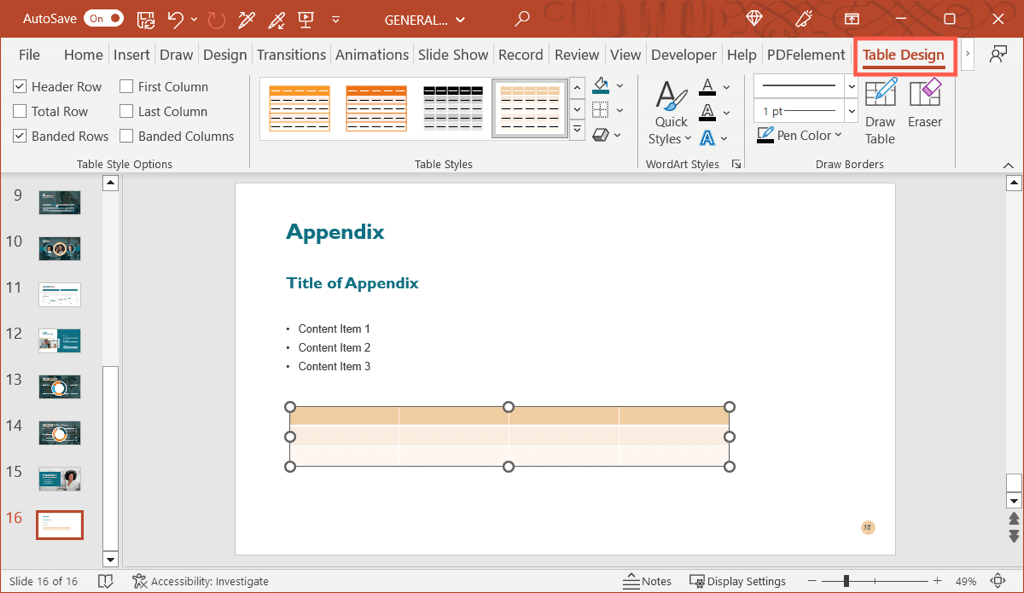
You can apply text formatting for the style, size, and color as you would any other text in your presentation. Select the text and use the options in the Font section of the Home tab or the floating toolbar (on Windows) to make your adjustments. You can also format images, charts, and tables like you would any other in the slideshow. Select the item and go to the corresponding tab that displays to make the changes. For example, if you select a table, you’ll see the Table Design tab.
Link to an Appendix in PowerPoint
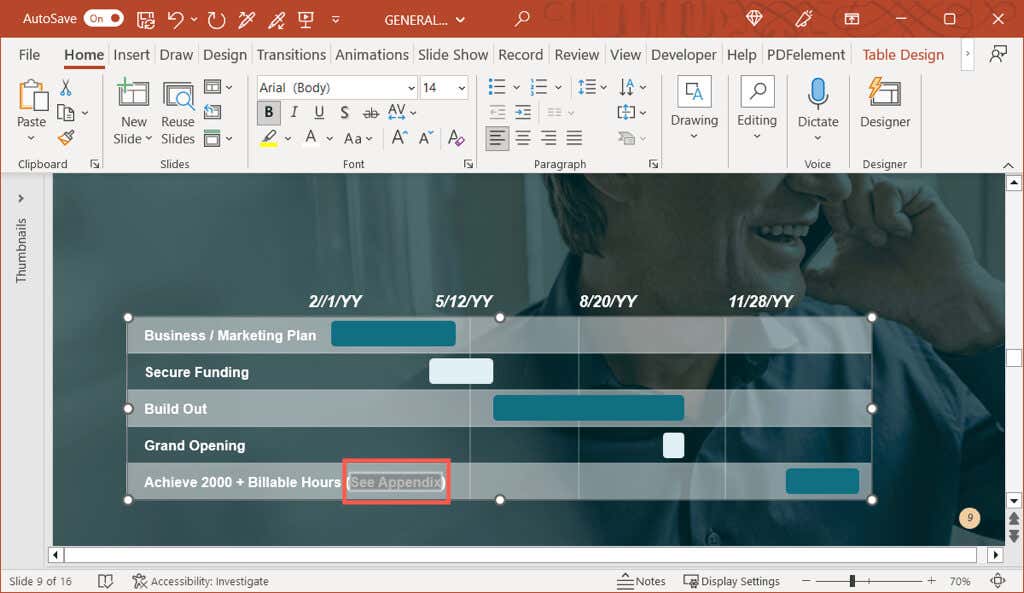
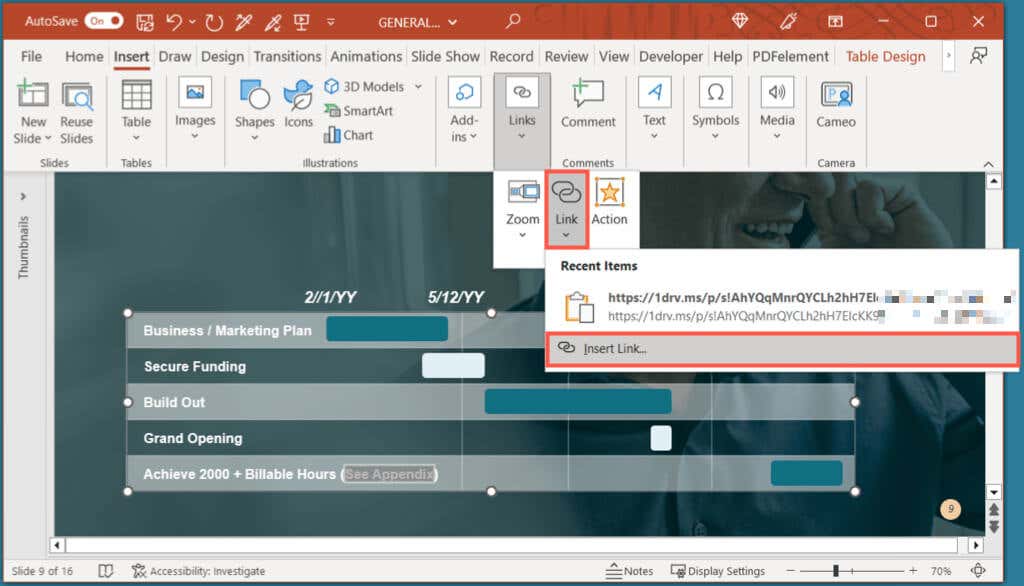
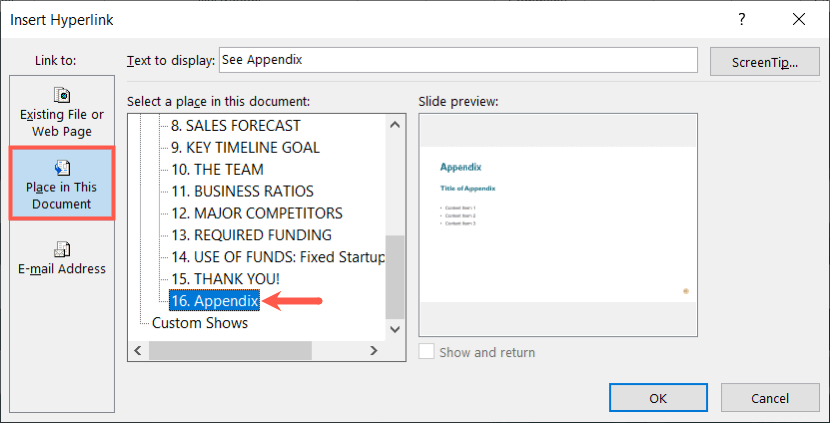
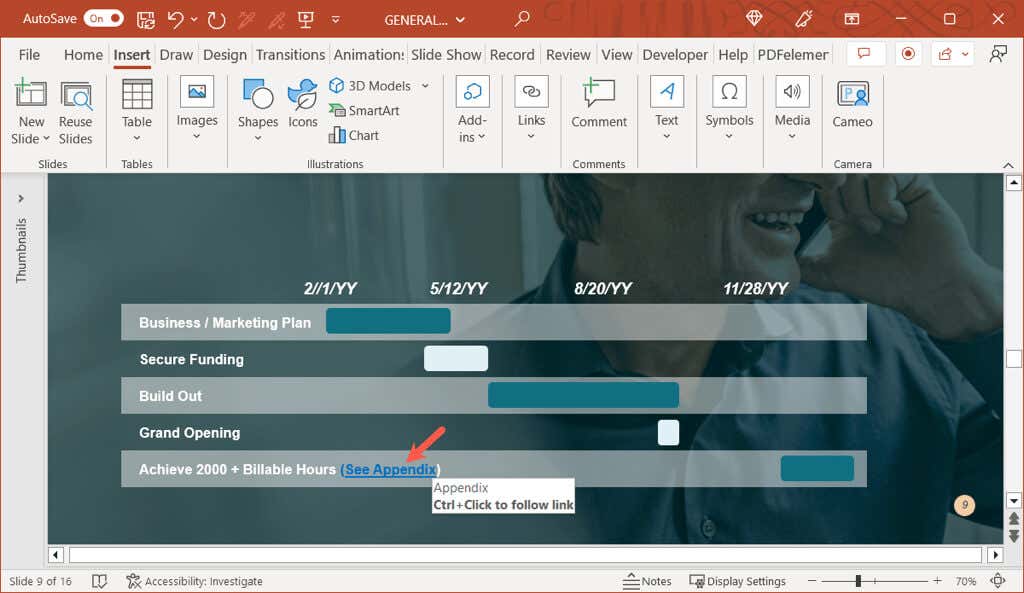
As mentioned earlier, you can refer to the appendix in your presentation content. This lets your audience know that they can find supplementary information on that topic in the appendix. To make things even easier, you can link text on a slide directly to the appendix slide. This allows you to quickly jump to the slide in the presentation if you like. If you share the presentation, it also lets your audience move right to the appendix. You’ll then see your text linked to the appendix slide. You can do the same with additional text in your presentation as well as other text if you use more than one appendix.
Hide the Appendix During a Presentation
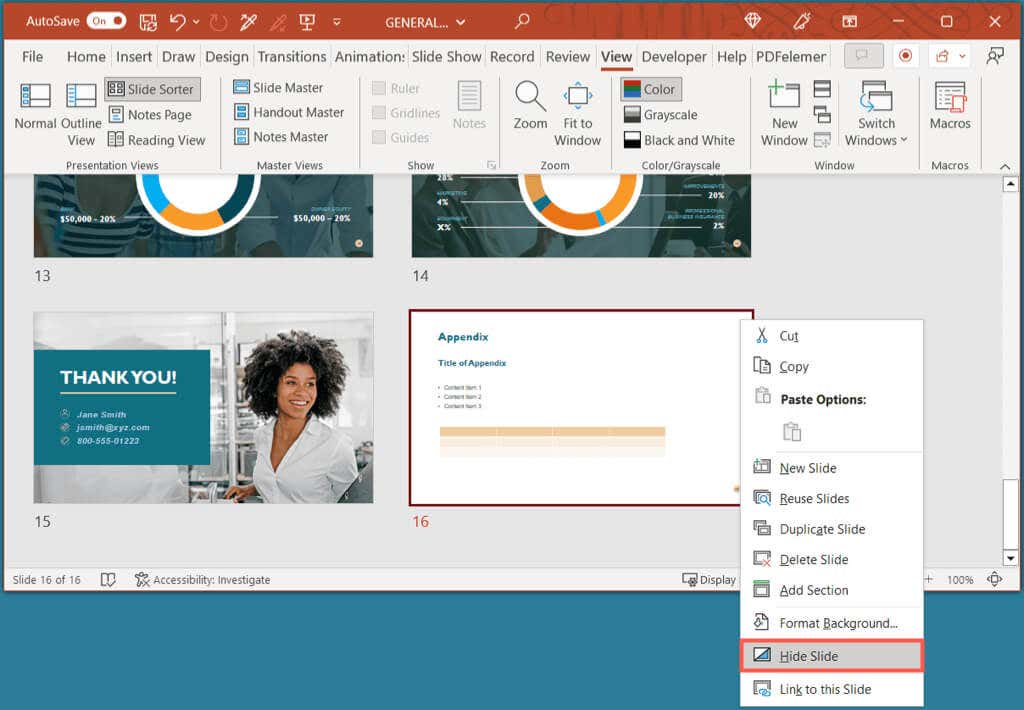
If you don’t want to display the appendix slide during your presentation, you can do one of two things. First, you can simply stop your slideshow after the last slide before the appendix. This works fine if you’re manually controlling the show. Second, you can hide the appendix slide. This is ideal if you have an automatically playing presentation or convert your slideshow into a video. To do this, right-click the slide in Normal or Slide Sorter view and pick Hide Slide.
Give Your Audience That Little Extra
With an appendix in PowerPoint, you can make sure that your audience has additional information if they would like to explore your topic further without taking away from your presentation’s main goal. Are you going to add an appendix in your next PowerPoint slideshow? For more, take a look at these tips to improve your presentations.
