Adobe Premiere Pro CC has plenty of color grading tools for you to use. They allow you to adjust blacks and whites, hues, brightness, and more. Throughout this article, you’ll learn what these tools are, what they’re for, and how to use them to color grade in your video editing.
Using Lumetri Color
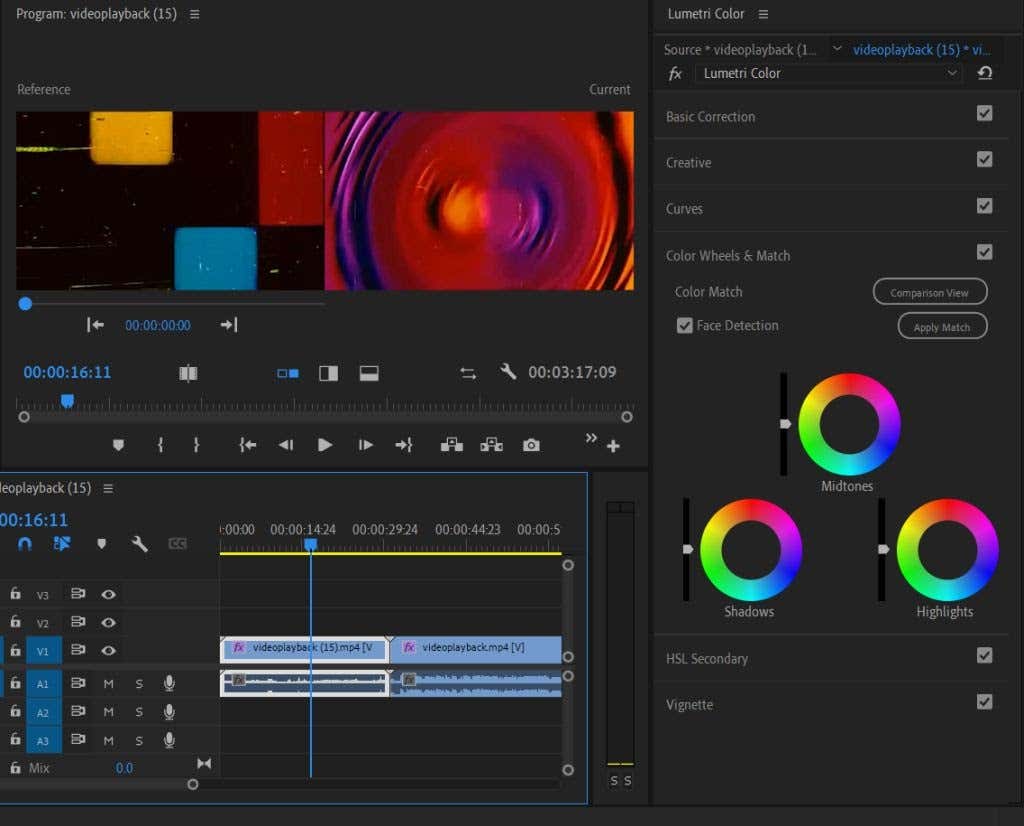
For color grading in Premiere, you’ll want to acquaint yourself with the Lumetri Color panel. You can find this by selecting the Color workspace at the top of Premiere. In this panel, there are a few different features you can use to change the way color looks in a selected clip or clips.
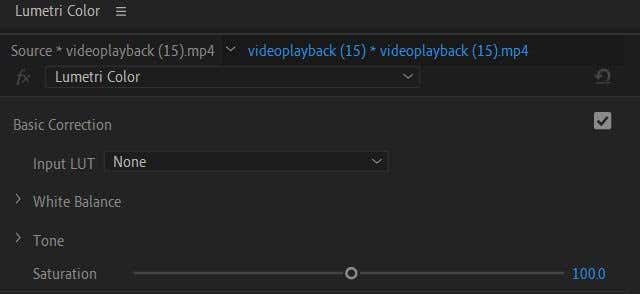
Basic Correction
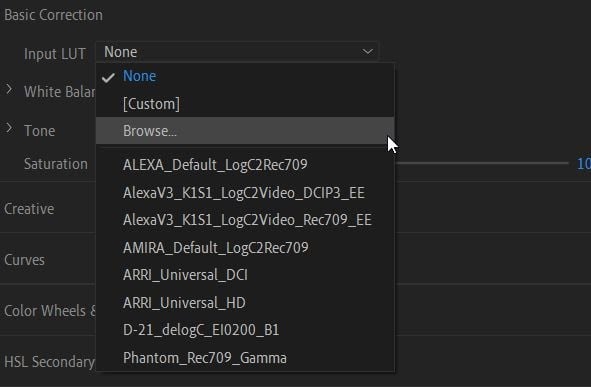
This feature allows you to make basic, general changes to the color within your video clip. Changes you can alter include white balance, tone and saturation. This is also where you can import a LUT, which are pre-made color correction settings you can download and use in your project. This is a good way to fix basics like skin tones.
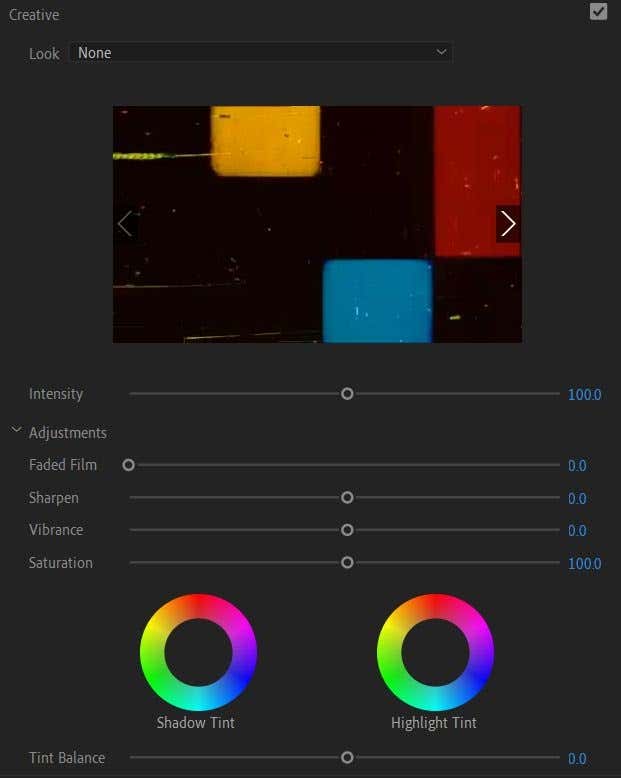
Creative
Under the Creative dropdown, you can choose a Look or upload one. These are easy ways to make your clip look a certain way without having to deal with all the settings. These are technically also LUTs, but they change more of the appearance whereas LUTs themselves tend to be a more basic color correction. You can also change settings under Adjustments here such as faded film, sharpen, vibrance, and saturation. You can also change the shadow and highlight tints here.
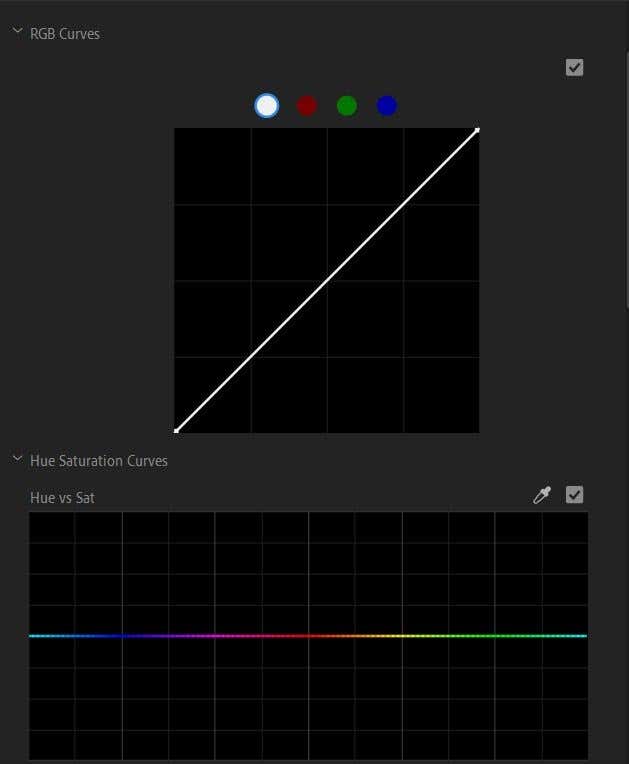
Curves
These settings may look a bit intimidating at first with the graphs, but once you begin to use curves you’ll understand what they do quickly. Curves are great for making detailed edits and getting your video clip to look just the way you want. Generally, the bottom-left of the graph is where you will adjust for shadows, the middle for mid-tones, and the top-right for highlights. Making subtle changes may be more difficult if it’s your first time using curves, so try making big changes with curves so you can see what part of your clip is being altered.
Color Wheels & Match
Here you can change the hue of shadows, mid-tones, and highlights, as well as the intensity of these hues. You can also use the color match to match these settings to other clips in your timeline. To do this, first select the clip you want to be the reference point color-wise. Then, choose another clip in your timeline to match to the reference clip, and select Apply Match.
HSL Secondary
This feature can be used after completing a basic color correction. It allows for correction of a specific color instead of the image overall. First, you can select a color using the eyedropper tool or choosing a color channel. Then you can adjust for hue, saturation, and lightness using the sliders. You can then also denoise or blur, and use the color wheel to correct the chosen color.
Vignette
If you’d like to add a vignette as a video effect, there are options here to do so and you can change the settings such as the amount, midpoint, roundness, and feathering.
Using the Lumetri Scopes
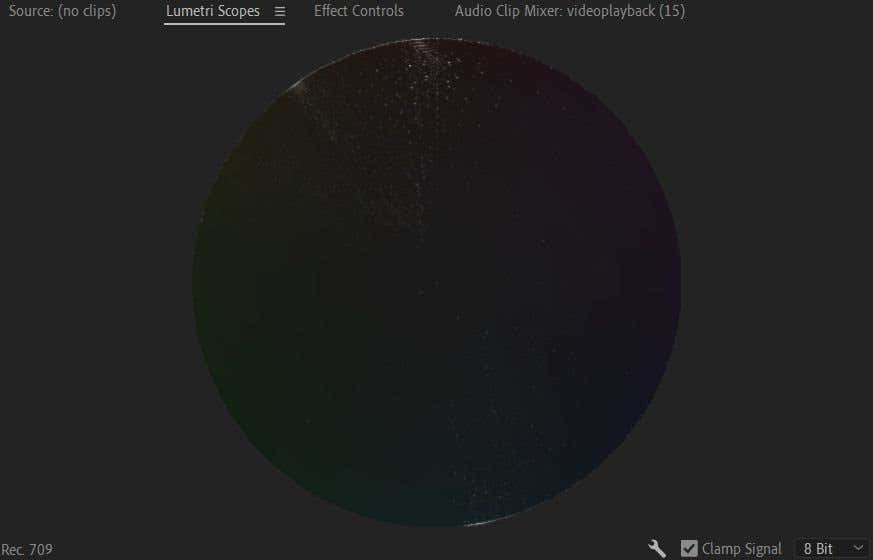
Another color grading tool you’ll want to learn how to use in Adobe Premiere is the Lumetri scopes. These are waveform graphs that show you the exact levels of lightness in your video clips. There are a few different scopes you can use in Premiere, but the main ones are Parade and Vecterscope. The Parade scope allows you to see your red, green, and blue waveforms within your video image right beside each other so that you can easily compare between them. The 0 on the graph denotes black and goes all the way up to 100, or completely white. As you make changes to the colors with Lumetri tools, you’ll be able to see these waveforms move according to the changes you make. The more you use this feature, the easier it will be to look at the graph and understand how it translates onto your image. Another important scope to know about is the Vectorscope. This is a circular scope which shows you which parts of the color wheel your selected video image falls on. It also shows the amount of saturation in your video. More vivid colors will fall further from the center of the wheel, while black and white images will be dead center.
Tutorial for Importing and Using LUTs
LUTs are an easy way to give your project an overall, basic color correction or adjustment without messing with the Lumetri Color settings yourself. To use LUTs, you’ll first want to find some to download online. You can find both free or premium LUTs, it’s up to you which ones you choose. Just make sure to download them from a reputable source. Once you have LUTs downloaded, follow these steps to use one in Premiere:
- Go to Lumetri Color > Basic Correction > Input LUT.
- Click on the dropdown and select Browse.
- In the file explorer, find the LUT you wish to use and select it. It will then be applied to your clip. A LUT can be used as a jumping-off point for further color correction and color grading. Simply adding a LUT to your clips and stopping there may make your color look inconsistent, as the LUT will not look the same on every clip depending on the original lighting and coloring of the clips. So, after adding a LUT, you’ll want to go through your clips and color correct from there so that there aren’t any inconsistencies.
When Should You Color Grade?
You may be wondering at what point in the video editing process you should start to think about color grading. Truthfully you could begin at any point while editing, but it’s better workflow-wise to only color grade after all your clip edits are finished and set in stone. This is especially true if you’re editing LOG footage, or the desaturated, neutral footage many professional cameras shoot. This will require much more color grading work to achieve a finished look, and you won’t want to have to make massive back steps if you need to change something like the clip order or length. So, make sure your footage is completely edited the way you want it to be before starting color work. It should be one of the very final steps in your editing workflow.
Color Grading in Adobe Premiere For a Better Video
Premiere is one of the best programs you can use to color grade footage as it has a wide range of color tools available for this purpose. Whether you just need some basic correction or want to give your video a creative makeover, the tools outlined above will help you achieve it in your own video production.

